 Home
Home


TR7 gauges
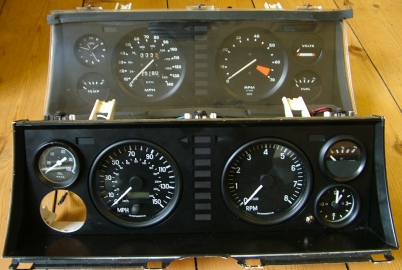
The picture on the left shows the before and after modification view of the instrument cluster. In fact the “after” was not the final stage as I later modified the fuel gauge and upgraded the illumination of the gauges and warning lights.
The best way to go about this is to buy an old instrument cluster on Ebay and work with that rather than the original in the car as, with this modification, there is no going back once you have started!
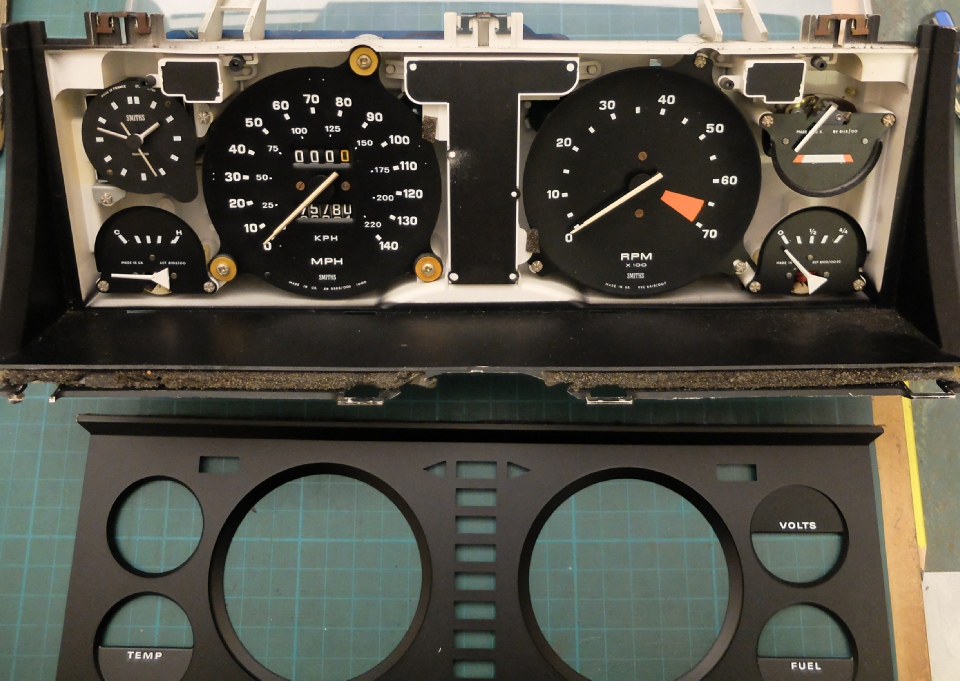
The cluster is dismantled by removing the three screws at the top of the unit. Then the clear front can be removed and the black panel underneath. The new instruments will be attached to this panel. To that end, the holes will need to be enlarged to fit the instruments being used.
I cut the semi-
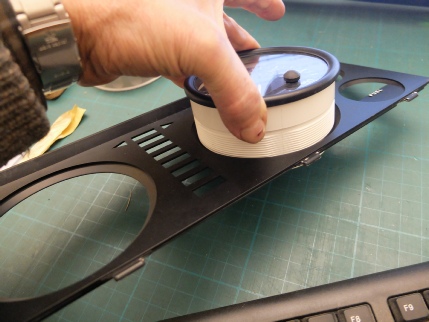
The clear panel needs to have most of the centre cut out leaving a frame as show in the picture on the next page. The cut edges should be finished with 240 grit wet or dry paper and then the frame should be sprayed mat black.
Next all of the rest of the unit can be taken apart. The fuel gauge will be needed as it can be fitted into an old 50mm gauge with a bit of ingenuity (watch the video on this page to see how to dismantle an old gauge).
The next page details more modifications which have to be carried out…
Old
New
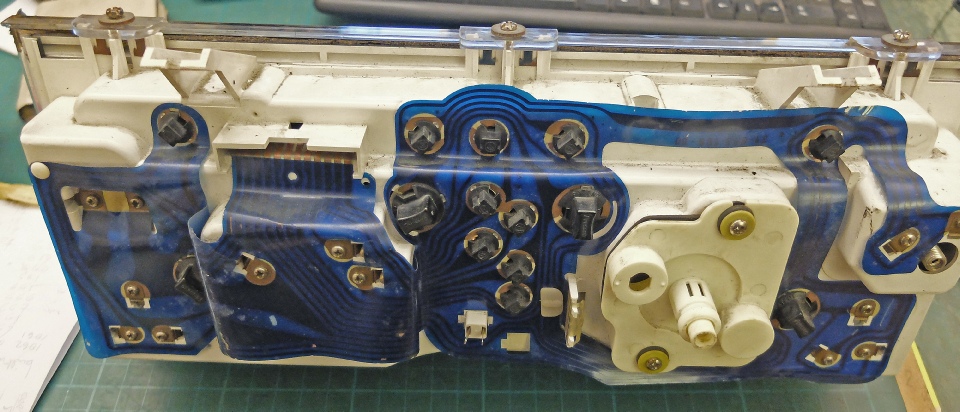
These screws hold the front on
Remove the screws and discard all the gauges except the fuel gauge (2 of many shown).


The ETB gauges almost fit without enlargement.