


Under Construction
Modules for official Raspberry Pi touch screen
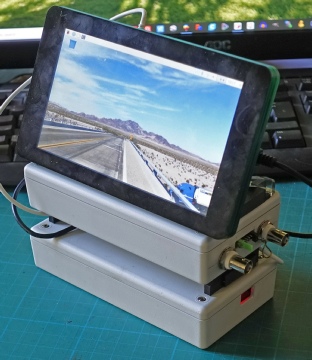
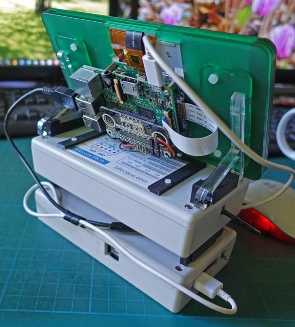
Some time ago I put a BitScope oscilloscope in an ABS box and balanced the Rpi “official touch screen”, which operated it, on top. I also have made a power supply using old laptop batteries and put them in another box of the same type. I wanted to be able to stack the boxes and the Pi and fix them together so I could easily move them around. Also, I wanted to be able to easily take them apart and, perhaps, add other modules such as an Arduino or a signal generator.
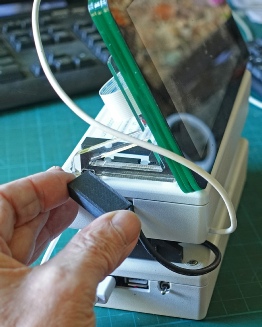
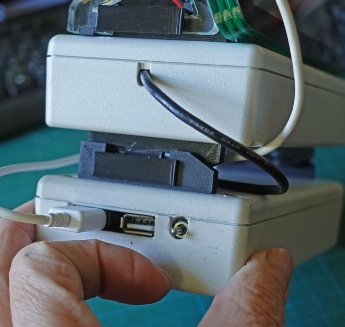
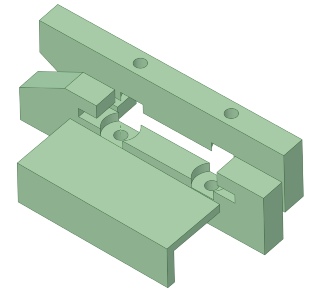
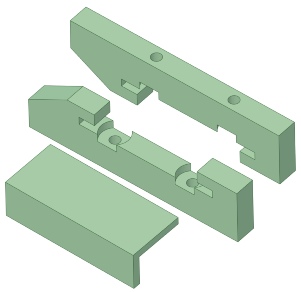
I puzzled over this, on and off, for quite a long time and eventually came up with the scheme described below. Essentially it involves 3D printed items which screw to the boxes, one pair to the bottom of a box, another pair to the top of the box which will sit underneath. The pieces are staggered so the pair on the top fit between the pair on the bottom. There are slots in each piece so that a flat locking piece can be slid in to lock the upper to the lower (see pictures below).
The picture above left shows the Pi sitting on the box containing the BitScope. Under that is the battery box. The boxes in question are Hammond 1599ESGY which I got from Rapid Electronics (30-
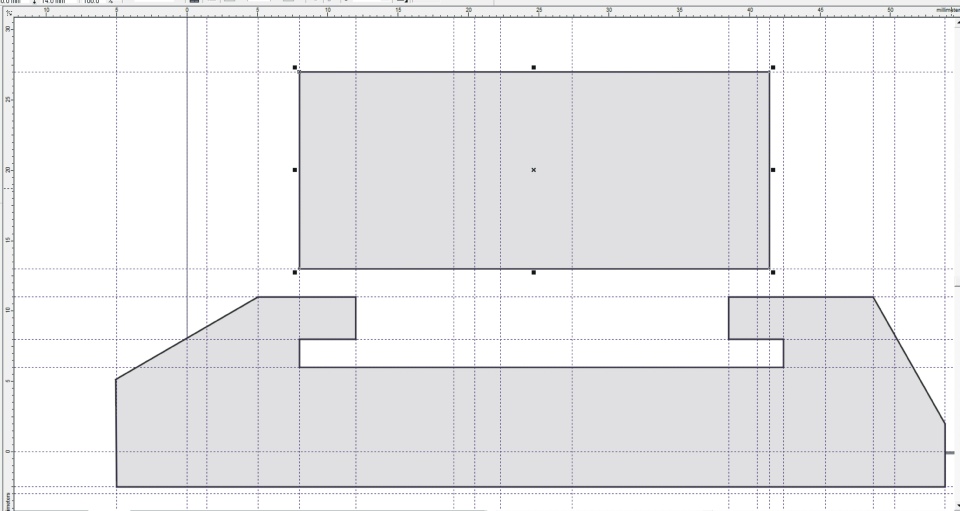
Below is a screen shot of the design for the profile of the part in question drawn on CorelDraw. You should be able to make out the measurements (just!) By a circuitous route I get this into Design Spark Mechanical where I extrude it and add the fixing holes (2.5mm with a 7mm countersink).
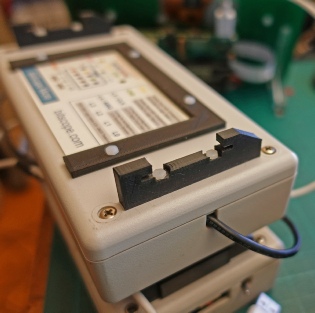
The pictures on the left show how the parts relate to each other and on the right, the parts secured on the box by M2.5 nylon nuts and bolts.
The 3D printer is a real boon for work like this. I could saw, file and drill one of these parts in say a couple of hours but I needed six and it would have been very boring and a bit stressful (given the need for reasonable accuracy) to do everything by hand.