

 Home
Home


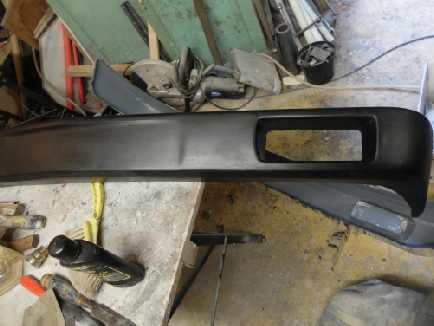
Here is where I describe how I made a new bumper cover to fit over the tubular frame designed to take the new spoiler. This will not be finished for ages given the speed at which I am going at the moment, So I need a temporary solution. Also, the spoiler may look rubbish and need to be modified.
I did some more rubbing down on the mould with 100 grit and 240 grit wet or dry. The original bumper was rubber and a bit wavy and spotty in places. To get a perfect result a new mould would need to be made from a cast from the original mould (which had been filled and rubbed down where necessary). However, I am not going that far!
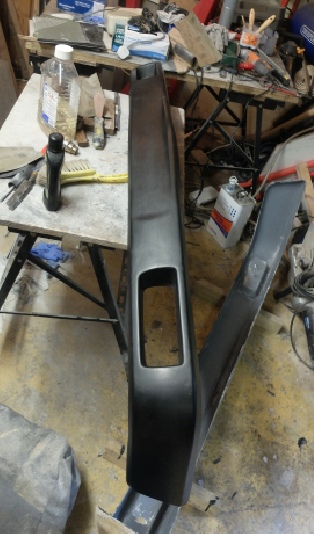
I sprayed the inside of the mould with several coats of grey primer to get a consistent texture on the surface.
The primer also acts as a parting agent of last result if I fail to get enough wax on the surface.
I have found that a three layer release agent is very reliable. One coat of wax applied with a soft cloth then brushed over with a paint brush before the wax dries. This is followed after an hour or two (depending on the temperature) by a coat of polyviny alcohol sprayed on. Then another coat of wax.
In this case I just used one coat of wax. Although I took a lot of care, it was obviously not enough as I had to rely on the primer in a few places to part the mould from the cast which is not ideal as the surface of the gel coat is slightly marred in these places. Also it takes more effort to split the mould.


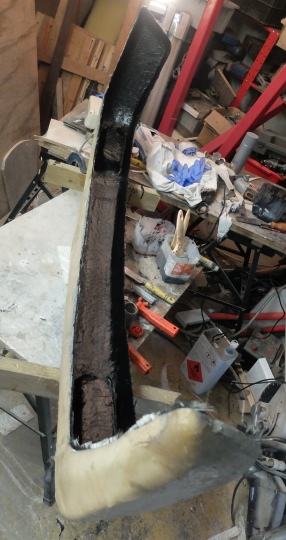
It’s a good idea when laminating on a near vertical surface to cut the mat within about 8 mm of the edge of the mould otherwise the wet mat may flop over towards the inside of the mould leaving the edge with no reinforcement. On the other hand it is useful to have overlap substantial enough to allow a pair of vice-
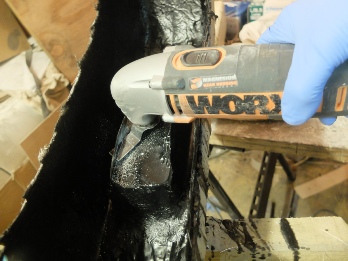
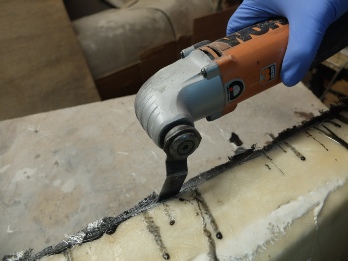
I use an oscillating multi-
The multi-

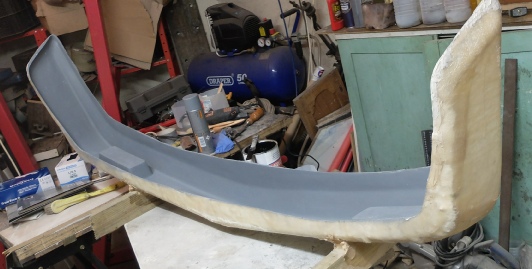
Once the cast came out after a lot of puffing and blowing on my part. Apart from sticking together a bit too much, the shape of the bumper means that the mould and cast have to flex quite a bit to separate the two. Less 3-
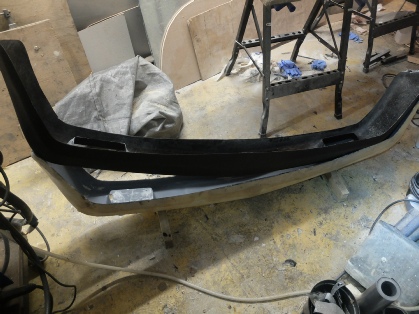
Once separated, the surface was cleaned up with fine wire wool lubricated with white spirit. I was looking for a mat or low sheen finish so this was no problem. Had I wanted gloss straight out of the mould that would have needed a whole different level of preparation!
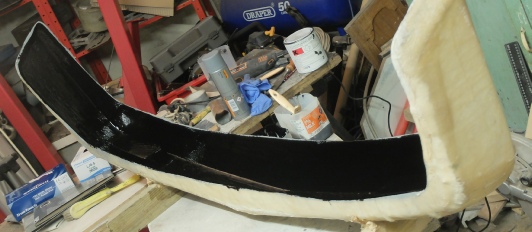
I finished the surface off with a coat of Halford’s black trim wax. Tis is a wax emulsion which goes on a treat and leaves a nice sheen which seems to last a long time.
I’ve also found this wax is very useful as a wood finish for straight grain maple. (see here)
How to fix the bumper to the frame next.