Home
Home


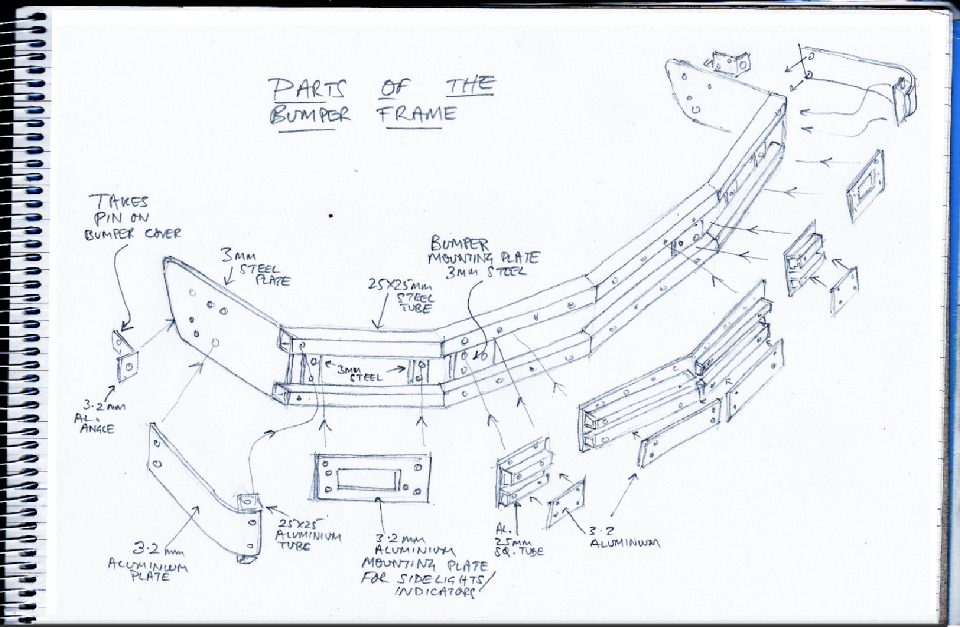
The frame is made from 25x25x1.5 wall thickness square section steel tubing and 3mm steel plate. In addition there are parts made from 25x25x3 mm square aluminium tube and 3mm aluminium sheet. The design for the basic steel parts, I think is fine, I am not so sure the rest is particularly elegant but it should do the job.
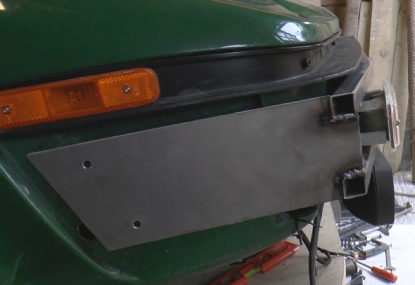
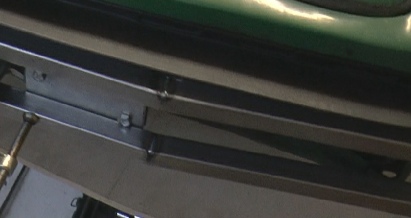
Basically, the frame comprises a top and bottom tube, each is cut and welded to form three slight bends to conform to the shape of the original bumper. These are welded onto two plates drilled to bolt to the left and right flexible fitting points. The frame is rigidly bolted to these points. (This should make the front end a bit stiffer at the expense of the theoretical scuttle-
Two plates are welded to the ends to form the returns either side. I may bolt these to the front of the wings or just use some sort of flexible fixing.
The aluminium plates and tube fix to the front of the steel providing a bit of a crushable area and a fixing point for the bumper skin/spoiler.
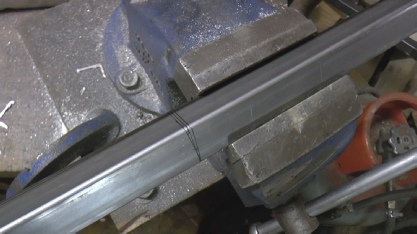
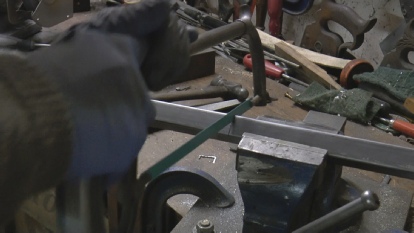
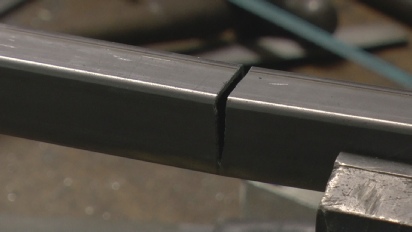
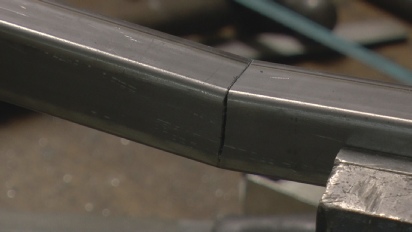
To make the frame I start with the centre bend. I mark a tapered cut on the tube with fine marker pen and cut with a hacksaw three sides of the tube. I offer up the tube and g-
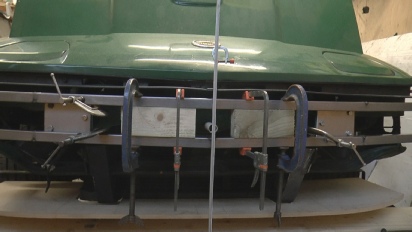
Using pieces of wood and G-
The end plates are notched to fit between the tubes. A little tiny tack, back on the car, bend it to the correct angle, back to the bench and weld it up.
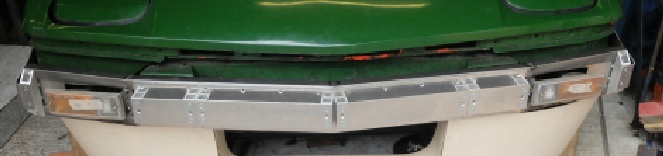
It’s going to look a bit like this when it’s finished.
Next, making the “temporary” GRP cover for the bumper frame.