 Home
Home


Bumper part 3
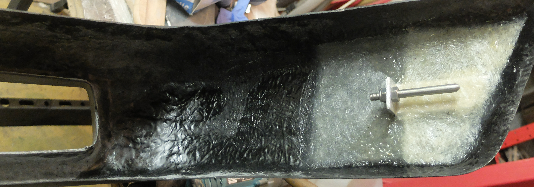
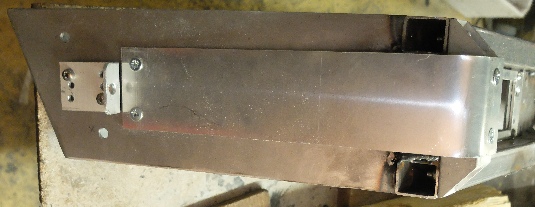
Here are the details of how the outer skin fits to the frame. Each side face or return towards the wheel arch will have a pin fixed to a bracket glassed onto the inside of the bumper cover. The corresponding part of the frame has a bracket with a hole to receive the pin. Thus the cover can be slid onto the frame. A couple of countersunk screws through the front of the bumper will fix it in place. These screws will be covered by the number plate. I’ve put an extra couple of layers of chopped strand mat locally where the screws will go to reinforce this area.
The brackets for the sides are made from aluminium angle 3.2 mm thick. Don’t bend these brackets from sheet as they will almost certainly fatigue with the vibration and fail. I built a kit car many years ago and kept on having to make and glass on brackets for the flip front as they regularly failed. (No problem with cold-
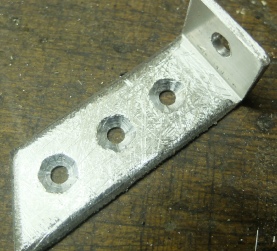
Drill some holes and roughen up the surface of the bracket with a coarse file to give the resin something to grip. Bevel the edges to make it easier to get the chopped strand mat down. I glued the bracket in position first of all using 5 minute epoxy. I made a card template to get it in the right place. I then glassed over the bracket with two layers of chopped strand mat.
I cut the head off an M8 bolt and rounded off the end on a grinder. I then bolted it to the bracket. Finding the right place for the bracket on the bumper frame relied on a bit of guess work but, luckily, it worked more or less first time.


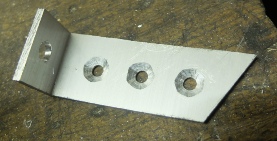
Fixing bracket
Fixing bracket roughened up…
and glued in place.
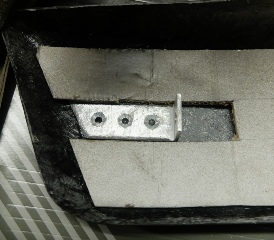
Bracket glassed onto bumper
Bracket and pin on bumper and below corresponding bracket fitted onto bumper frame.
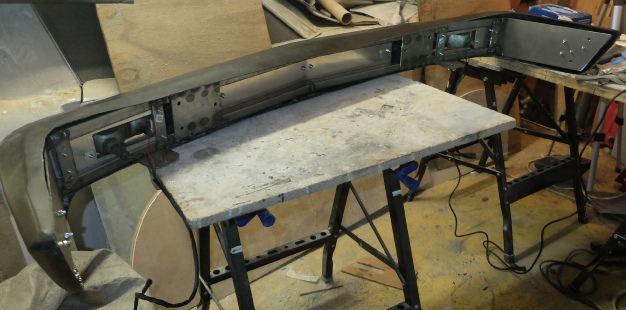
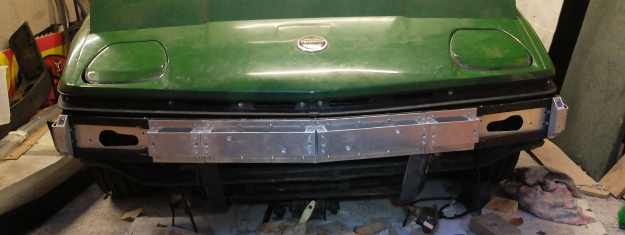
The cover trial fixed to the frame and below on the car.
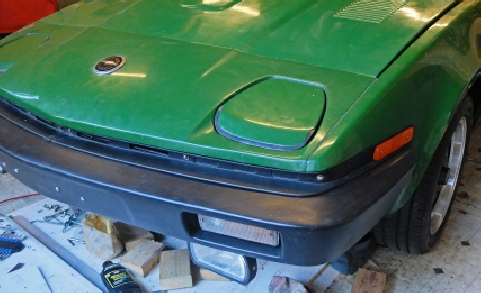
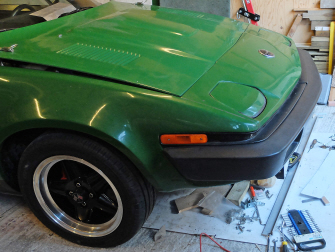
Before
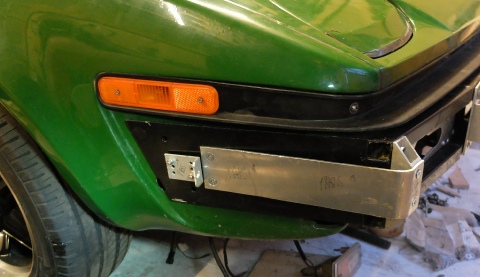
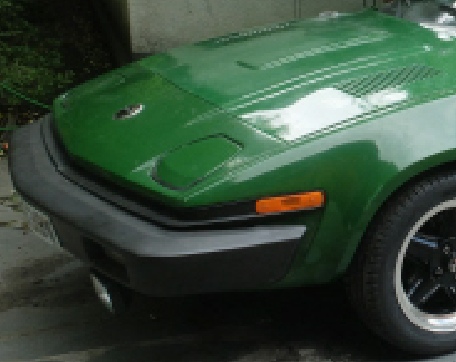
After


Pin on cover slides in here

So my “temporary” bumper cover is completed and it looks ok. It protrudes about two inches less than the US style heavy-
Now for more work on the spoiler… (under construction!) But meanwhile here is a “temporary” spoiler…