


Under Construction
Karndean Palio Clic flooring
My son had inherited some rather old carpeting with his flat and the general effect was not enhanced by his acquisition of a couple of dogs who (unlike cats) tend to be not the cleanest of animals. So a wipe down surface was called for and preferably one which could tolerate spillage of various sorts (the type of which I won’t go into in any detail!)
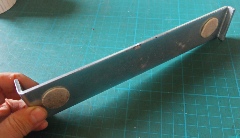
In the past I have laid laminate and wood veneer both on particle board. Both were tongue and groove which needed gluing. With both I feel there is danger that water could get under the surface leading to delamination. The advantage of the Palio Clic is it is not affected by water and the seal when the planks are clicked together is claimed to be water tight. There is a hard rubbery tongue with a lip which clicks into a corresponding mating groove on the adjacent plank. This seems to be very accurately manufactured and, when the joint is completed it seems extremely tight and I should imagine the claim that the joint is impenetrable to fluids is entirely true.
In order to join the planks, I push the short widths together with the long joint with the adjacent plank as tight as possible. This will leave a gap of about 1 mm. At the other end of the board, I tilt it up slightly and push it into the adjacent board. This end should click into place but just at the end, leaving the board twisted up. By gripping the raised edge, pushing it toward the adjacent board and wiggling it up and down, the board should gradually click into place along the length of the joint towards the end. A downward slap with the hand will help. At the end, the joint should click into place tightly both on the long and short joints. Otherwise, use a scrap piece of board, to tap the board home with a hammer, working along the board towards the short joint. It may be necessary to use the scrap piece and the hammer to tap home the short end joint.
All this works well if the floor is absolutely flat and you are not working into corner where access is awkward. Sometimes it’s a bit of a struggle then, suddenly, the plank clicks into place!
Lip on tip of tongue.
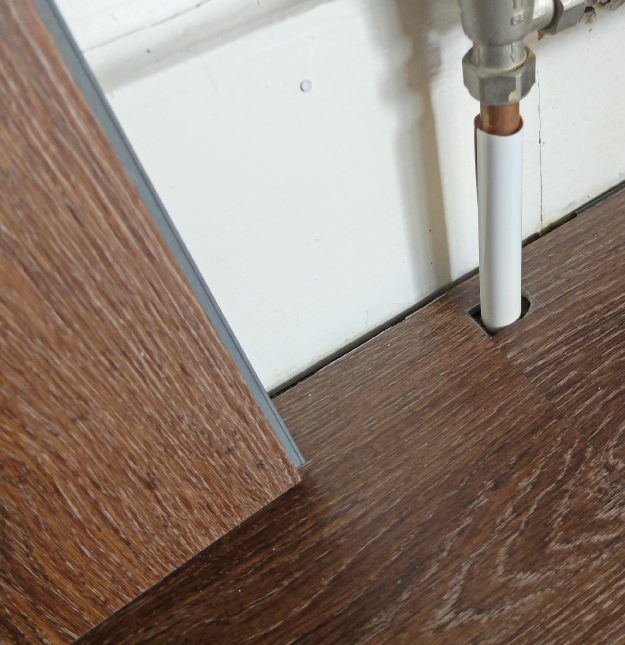
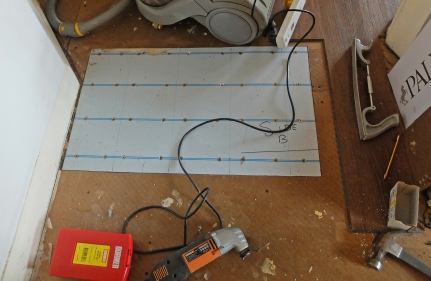
It’s a matter of luck as to whether a pipe is right on the edge of a plank!
5 mm gap to skirting to allow for movement.


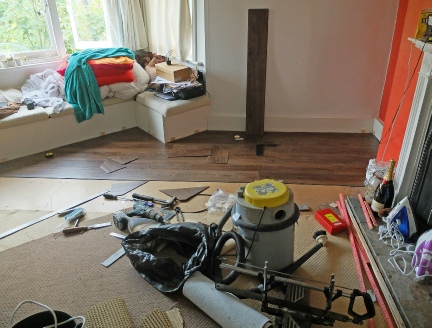
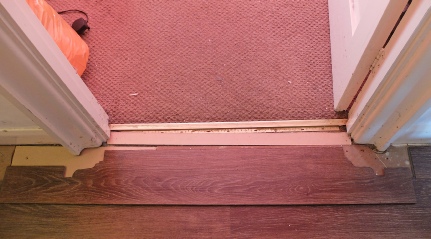
It’s best to start in one corner and lay the planks against the longest straight wall but it depends on the shape of the room. Here, the room had all sorts of angles so there were no easy options. I wanted to run the floor though the doorway (which was diagonal to the hall) into the hall without using a threshold strip, so my main aim was to choose a laying direction which was parallel to the hall as a slight diagonal there would have looked odd and needed a lot of trimming to the planks (there was enough as it was!)
I started with the planks’ tongues away from the starting wall. This avoided the need to shave off the tongues as, otherwise, with the 5 mm gap for movement, the scotia trim might not have covered the gap to the actual plank.
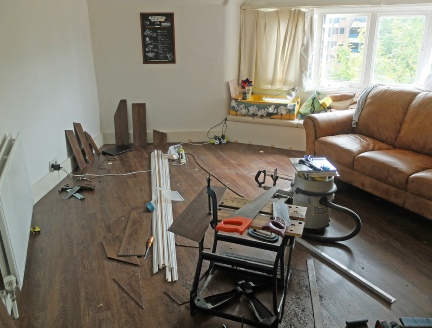
Mitre saw for cutting scotia trim.


Scotia trim, pre-
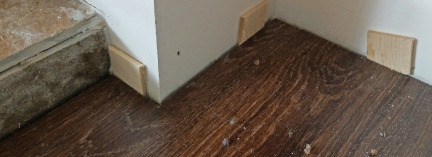
5 mm spacers. Gap to be covered with scotia trim.
Gap to stone fireplace (and round door architrave mouldings etc to be filled with black silicone rubber.
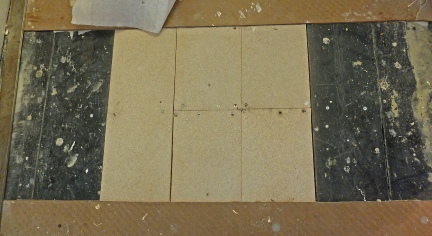
In the hall, there were some soft patches where boards had been replaced by chipboard with some inadequately supported joints. (I would have thought that chipboard only works for floors if it is in the form of proper flooring grade tongued and grooved boards.) Rather than get into a lot of extra work, I replaced the hardboard over the boards with 3 mm aluminium sheet, thoroughly screwed down. This seemed to work ok.
There were quite a few doorways to cut round. I made card templates and marked the boards with a fine tipped black marker (Staedtler Lumocolor “S”).
For straight lines, you can score the planks with a curved craft knife blade and just snap it. Otherwise, a hand saw or a jig saw can be used. The material seems really hard on jig saw blades and they very soon blunt. Chisels, coping saw etc may help. A car body file (see above) is good for taking small amounts off the planks.
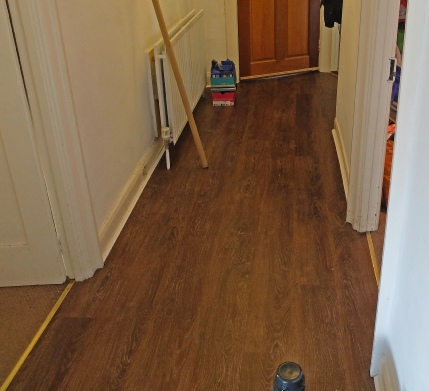
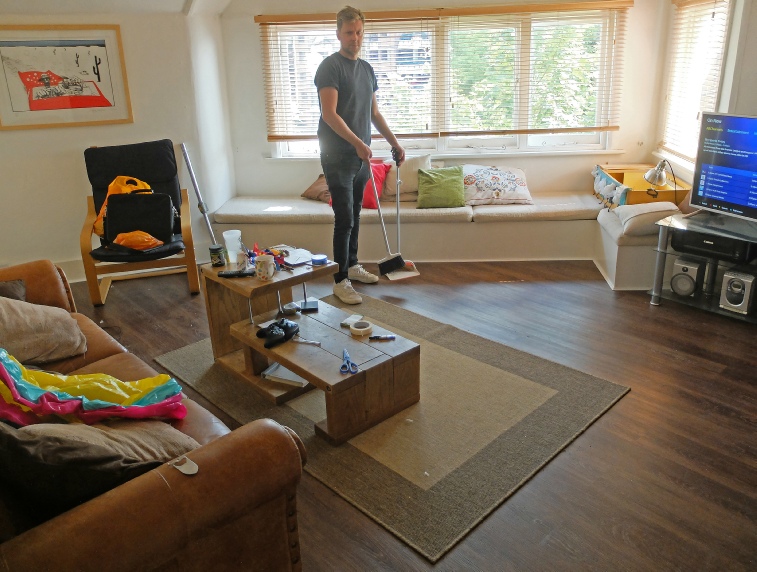
The final result looks very much like wood and seems to be as tough as old boots and water proof (although you wouldn’t like to get water underneath it from round the edges! The picture does not show a rather large fish tank in the corner which, in my opinion, could be an accident waiting to happen -


Under the carpet, hardboard had been laid to even out ant irregularities in the floor boards. I would recommend hardbord under the Palio Clic unless the floor is perfect. Incidentally, a soft underlay is not recommended ( because the planks might un-
The hardboard had been screwed down which, in my opinion is good, but the screws had not been countersunk so they all had to be taken out, countersunk and replaced. Pain!

I used a mitre saw to cut the scotia trim to length. Measure the angle with a gauge, halve the angle and set the saw accordingly. I used a cheap pneumatic nail gun with 20 mm brads to fix the trim. I bought this years ago and rarely use it but for something like this it is absolutely invaluable. (I mostly use the compressor to blow up my tyres.) It’s no longer available but is very similar to this one.
If I had had more time, I would have put a little bit of decorators’ caulk on the mitres to make sure the joints were well sealed. This time I’ll leave this until I do a bit of decorating.
If it is possible to remove the skirting and replace it over the boards, this is obviously better than using scotia (but a lot more time consuming).
Car body file -
Multi-


This is an essential tool! When things get in the way, you hook the small end over the edge of the planks (via a piece of scrap) and hit the other end with a hammer to pull the planks together. Here is a posh version…