 Home
Home


TR7 boot
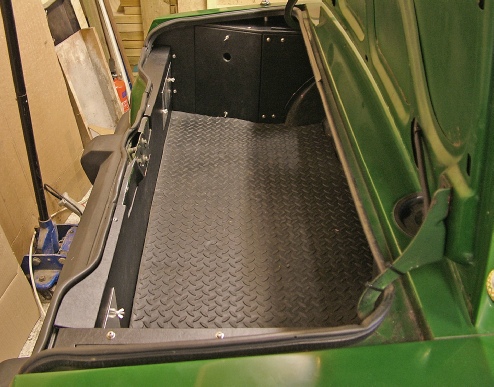
I’ve covered over the rear panel with 6.5 mm ply covered in black vinyl. To form the angle between the top and side of this part, I butted the two parts together supported on the outside by duct tape and propped up at the right angle. I then ran in epoxy between the edges to hold them in place. The gaffer tape prevented the epoxy running out.
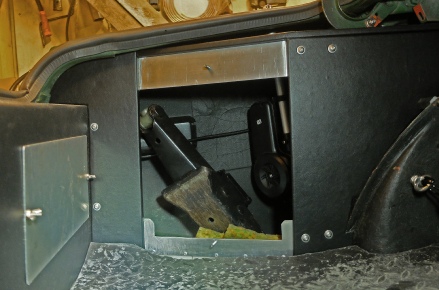
When the glue had hardened, I reinforced the join with a strip of chopped strand mat and resin. There are access holes for the lights covered with thin aluminium panels secured with small wing nuts. Dzus clips or similar would have been a better choice as the wing nuts can snag on stuff you might be carrying in the boot. The side panel on the left in the boot (see top picture and below) is made from 6.5 mm ply on a frame of 3.2 mm aluminium sheet and angle. The middle part can be removed to reveal a scissor jack and the electric aerial.

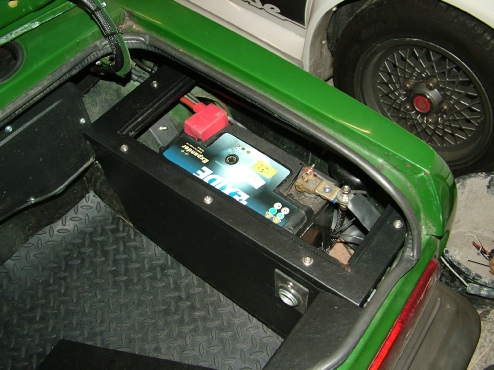
The box for the battery is formed in a similar manner with ply panels supported on aluminium which is tapped to take screws so that it can be removed relatively easily to change the battery.
I’ve fitted a screw in type battery isolator which is needed as there are circuits such as the alarm which are on all the time and, regrettably, the car spends a very large part of the time in the garage.
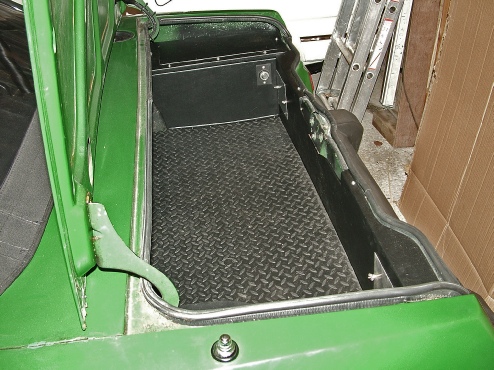
I’ve fitted the box with a cigar lighter style power socket to charge phones etc. in the boot or conversely, charge the battery using a suitable plug for the battery charger.
There is a suitably shaped piece of 12mm ply over the spare wheel which will not collapse when carrying luggage.
The floor of the boot is covered with a mat cut from some very heavy rubber matting. It used to be available in bits about 8 feet square but not any more. It stays absolutely flat won’t move once down and deadens sound very effectively. I’ve also put it in the cabin instead of carpet. If you wanted to loose weight for, say, a track day you could very easily take it out, of course.

