


Under Construction
3D-
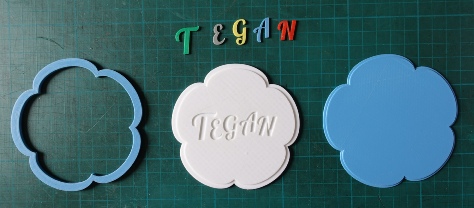

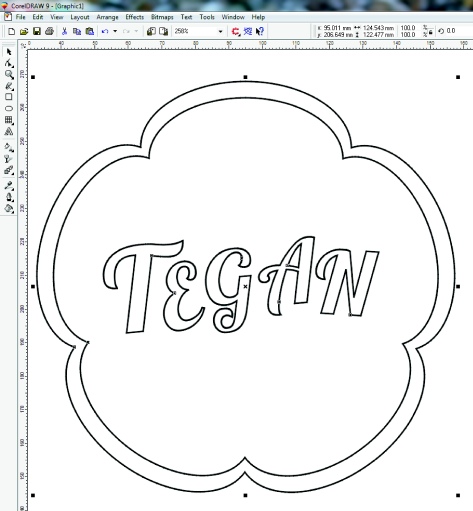
Above left: I have found that the easiest way to design 3D design projects is to start with Corel DRAW (I have a copy of the rather ancient version 9).
By a convoluted process (detailed here) I can get this into Design Spark Mechanical and then extrude it into three dimensions.
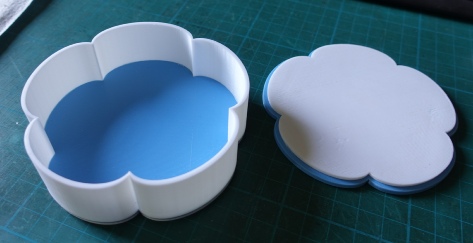
The outside of the white part of the lid is dimensioned to fit into the box sides and the top rebate fits into the blue part. The outside of the blue part is the same size as the outside of the sides so, together, the blue and white parts form a lid with a rebate to fit into the box.
The lid has to be made in two parts as it would not be possible to make one piece with a rebate on the underside and the cut outs for the letters on the top (or at least, the rebate so formed would have needed to have been heavily cleaned up). Anyway, the two contrasting parts makes for a nice design.
Left: following a little fettling with a Stanley knife etc, the letters are pressed into the cut outs. I have been using Tensol cement to fix these in. (Later experience suggests that super glue might be more secure.)
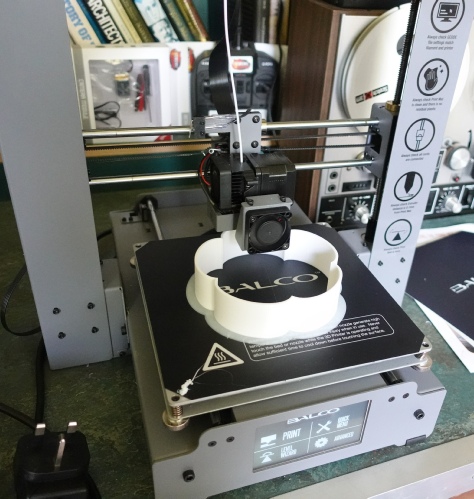
The sides take a month of Sundays to print (over seven hours).
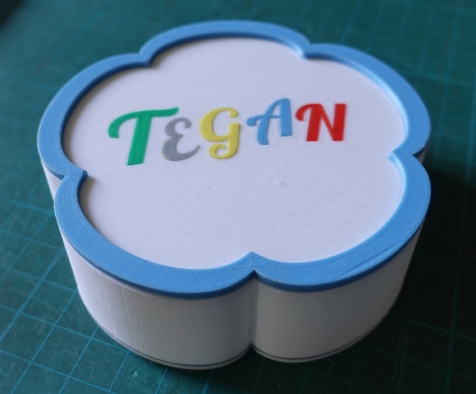
The finished box. The recipient (my granddaughter) was pleased!
I was also pleased, however, it would be nice to know how to avoid the occasional slight blemish such as you can see on the blue, near right. Is this a failure in the generation of the STL file or in the printer file generated by Cura or or in the printer software? Who knows.