 Home
Home


Pergola construction 2
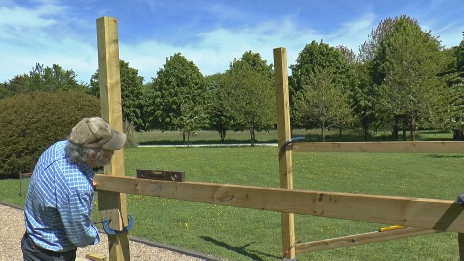
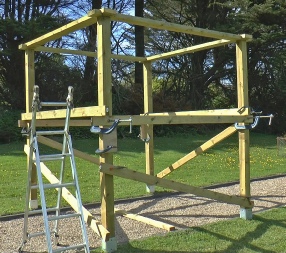
To set the posts vertical, I measure their distance apart at the base then G-
I repeat this procedure for all four sides. If I am running out of G-
Now I measure from the horizontal pieces of wood to the tops of the posts. I take the shortest post as my pattern and then I mark the other three posts to that measurement, climb up a pair of steps and trim the posts with a hand saw (or easier but longer, take the posts down and trim them on a Workmate).
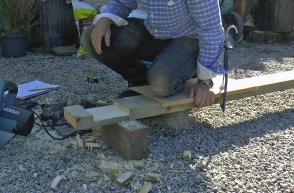
Next, I mark out half joints on the 160 x 50 top beams, make saw cuts to the right depth at about 20mm spacing and chisel out the waste tidying up with a rebate plane where necessary.
I put two opposite beams on the tops of the posts and secure them with four off-


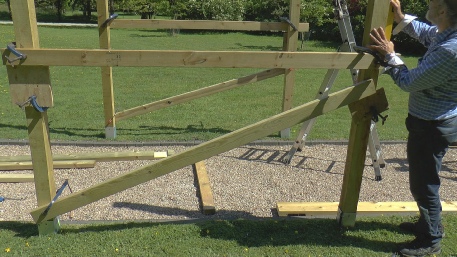
Link uprights with cross piece. Make sure uprights are same distance apart at base and cross piece.
Raise or lower cross piece to be level.
Get diagonal piece ready and push uprights until they are vertical
Clamp everything up tightly (or put in temporary screws). Do on all four sides. Measure from cross pieces to mark where upright tops need to be trimmed.
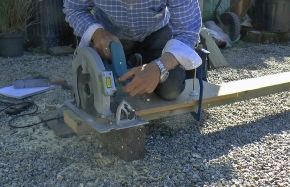
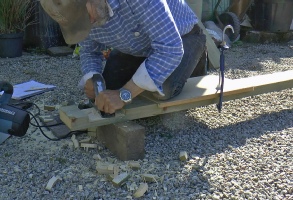
Cutting half joints in the top beams.
Clamp a guide in place and make the first cut (to half the depth of the wood).
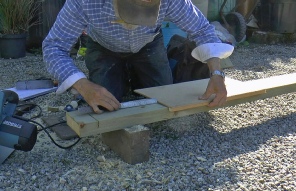
Move the guide by the width of the wood less about half the width of the saw cut (to allow a small clearance).
Measure from a pencil line drawn against the guide in its first position.
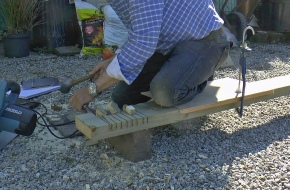
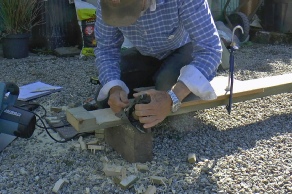
Make the second cut against the guide then more cuts, freehand, between the first and second cuts.
Chop out the waste from both sides to avoid splitting off wood below the line.
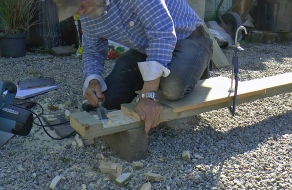
Get the surface as clean as possible…
Then finish off with a rebate plane.
Plane from both sides to avoid splitting off wood.
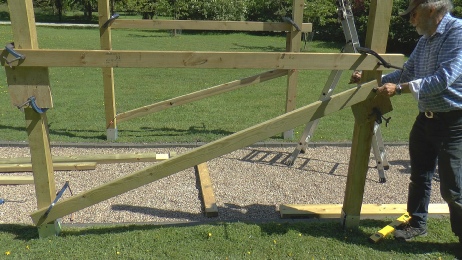
Getting the uprights vertical
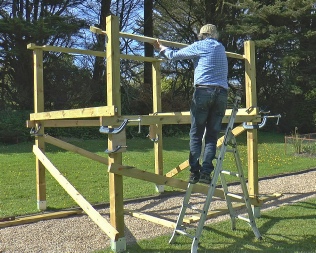
Putting the top beams in place

The beams are fixed to the uprights with 10 mm coach screws.
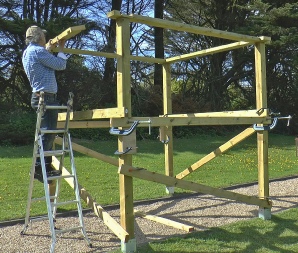
Next, making the arches and the trellis…