 Home
Home


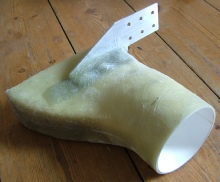
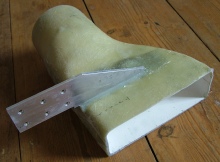

The first task was to make a duct to conduct cold air from the front of the car. There is a suitable slot at the side of the radiator. I made a model out of softwood which transitioned as smoothly as possible from a rectangular to a circular cross-
I also needed to make a GRP duct to smoothly connect the flexible ducting to the aluminium base plate (see the photos towards the bottom of the page). The model for this was roughly conical in shape and could be extracted from the GRP without having to make any cuts.
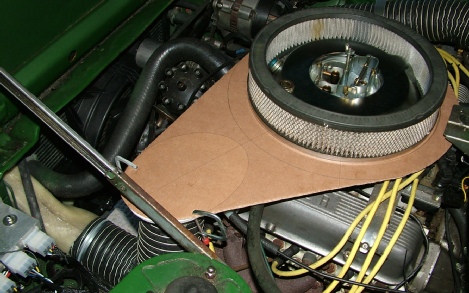
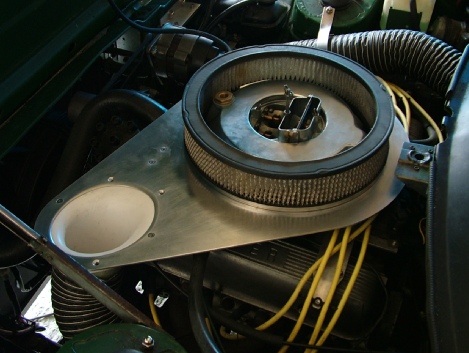
Next I cut a card pattern of what I thought the base of the upper part of the intake should look like and tried it out with my new GRP intake fitted beside the radiator together with some flexible ducting. shape and could be extracted from the GRP without having to make any cuts. When I was satisfied with the design, I translated the card into 3.2mm aluminium sheet.
The next task was to make a mould for the cover.
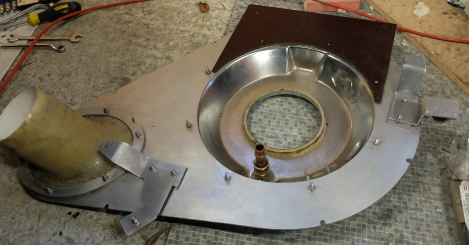
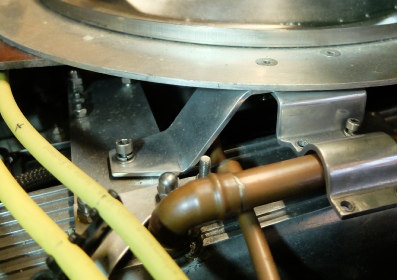
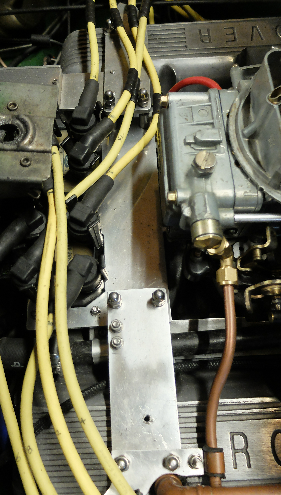
An assembly of three 3 mm aluminium plates spans across the rocker covers. The middle part is cut out to take the Megajolt coil packs. Spacers lower this plate as much as possible into the “V” of the engine.
GRP duct
Cardboard pattern


GRP duct


Tufnol sheet locates over Megajolt coil packs to prevent any flash-

Brackets secure base plate to rocker cover


“Plumbing” connects to crank case breathers

M5 nuts & bolts secure plate to filter.


Threaded hole for base plate fixing.

Clip to secure petrol pipe

Clamp secures breather pipe

15 mm plumbing pipe is good fit over breather pipe on rocker cover.

One of two brackets securing base plate
