


Under Construction
Heater knobs “from ALDI”
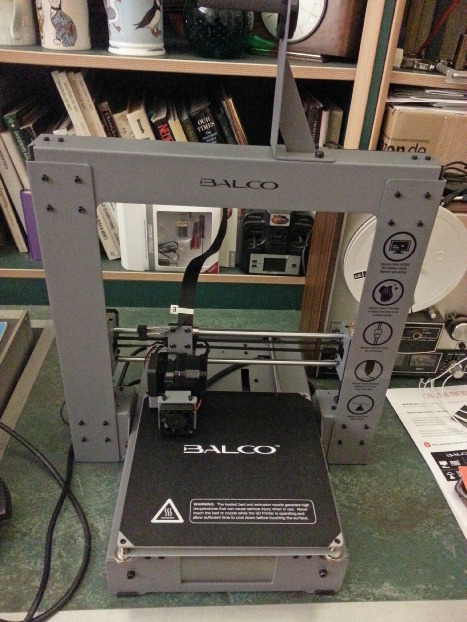
The original heater knobs on the TR7 tend to fall off as they no longer grip the metal lever. I have been thinking about replacing them for some time and I had considered making something out of black Perspex with a grub screw to keep them in place. However, a slot is needed to fit on the levers and if the knobs were to be made in one piece something like a precision milling machine would be needed, which I have not got! They could be cast with resin perhaps. However, I recently acquired a small 3-
I have used Design Spark Mechanical software to design the knob. If you register, this comes free. I believe it is published for educational use and comes from RS Components, a company which has sold electronic and other components from a lovely series of glossy catalogues for much longer than I can remember. For simple stuff like this it seems easy to use but for more complex stuff, no doubt, things get stickier! Once the design is completed, the file is passed onto Ulimaker Cura (it comes with the printer). In this case, I needed to use the program to rotate the design through 90 degrees so that its bottom would be on the printer bed.
Cura then turns the design into a printing file which can be loaded into the printer via an SD card (or by USB).
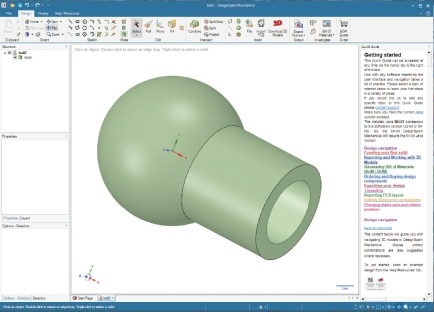
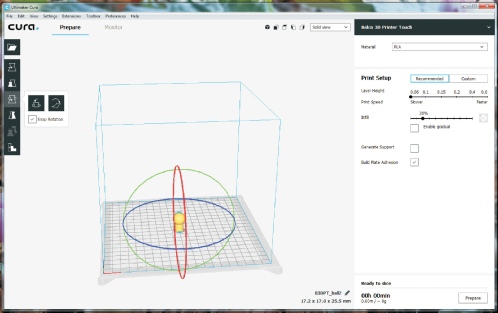
Above left shows the design on Design Spark. Above right shows the design in Cura with the design rotation feature activated.
Left shows three rather sorry-
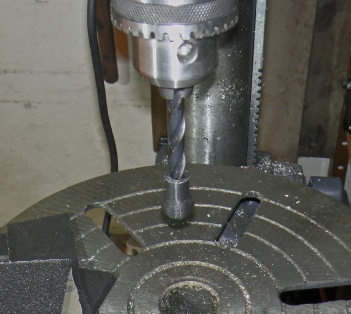
The knob was made with a hole slightly smaller than 8mm. I passed an 8mm drill partly through the knob then used it as a mandrel to allow the knob to rotate while I applied 100 grit then 240 grit wet or dry paper with WD40 as lubricant.
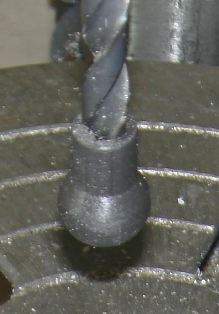
The knob has been sanded reasonably smoothly in this picture.
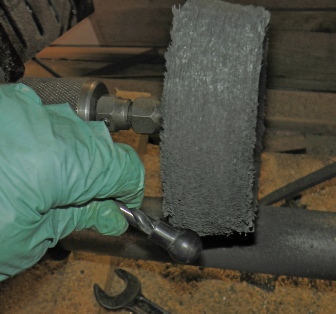
I then used a soft cotton mop charged with brown polishing/cutting compound (“Tripoli”) to generate a sheen on the surface.
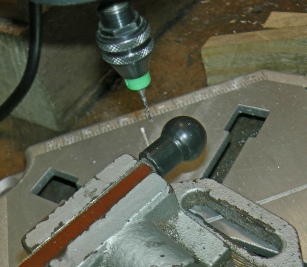
Next, I cut some pieces of 8mm diameter aluminium rod the length of the knob. I then cut a slot 10mm deep in the aluminium, as shown left, using a hacksaw with two blades fitted to give an extra wide cut. Unfortunately, this is just short of the 2mm width it needs to be to fit over the heater levers so it will have to be widened later. (I used a 2mm drill bit in an electric drill as a sort of hand router.) I then pressed the rod into the hole in the knob with the vice (below left). The rod is a tight fit as the 8mm drill doesn’t quite leave an 8mm hole due to the rubbery nature of the plastic.
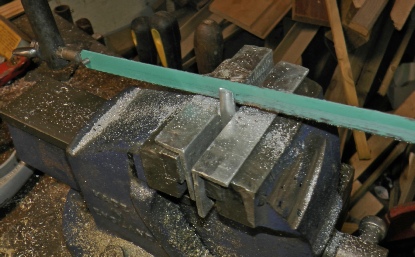
Now I need to drill a hole for a grub screw to hold the knob onto the lever. First I pushed a piece of 2mm tufnol into the slot in the knob and clamped it into a small machine vice.

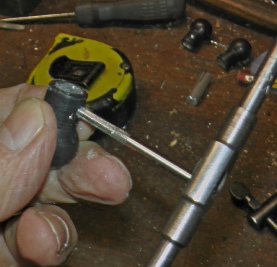
Above right, I used odd-
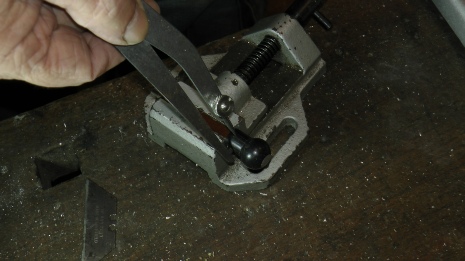
Following this, I enlarged it to 2.5mm and then tapped an M3 thread into the hole (below centre).
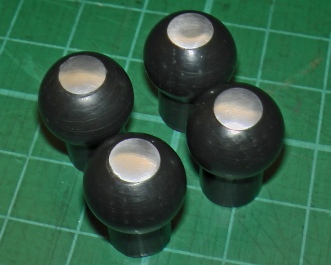
Below right are the four finished knobs. Next, the knobs need to be fitted onto the heater panel.
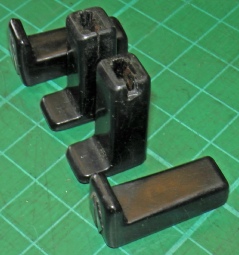
Old knobs, tattered & torn!
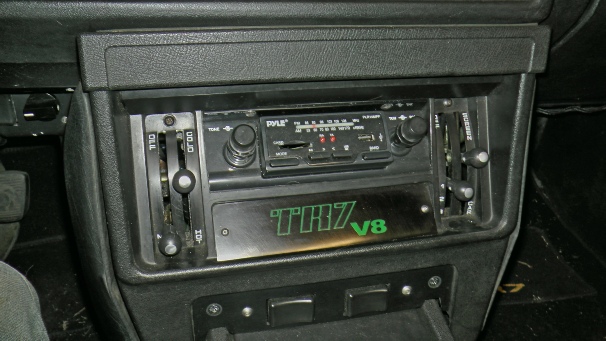
Here are the knobs fitted onto the heater levers. I always intended to fit spherical knobs to the heater as part of my faint customising of the TR7 (especially the interior which, as manufactured, always seemed a bit messy, as I have maintained before.) I think I had some of the control knobs on my old VW Beetle in mind (which also lives on with the interior door handles).
On thinking about it, I could have probably made knobs pretty similar to the originals with the 3-
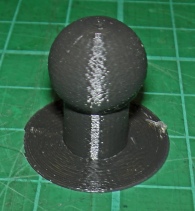
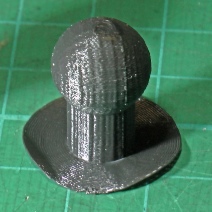
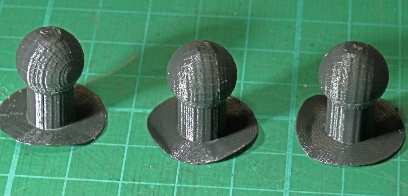
Shortly after I discovered that it would have been helpful if I had printed the knobs out at a higher resolution! (See pictures left.) First you design the thing on CAD where everything looks smooth and reasonably wonderful. Then you output an .STL file which is fed into the Cura program which outputs a file of instructions suited to the current type of printer. The .STL file is a description of the object in terms of a series of triangles -
Postscript