Under Construction
Greenhouse 6
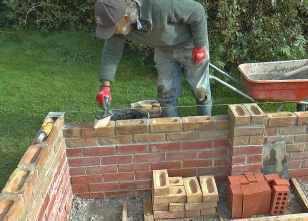

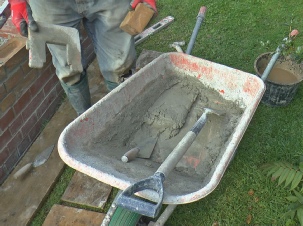

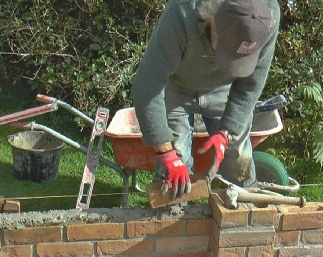
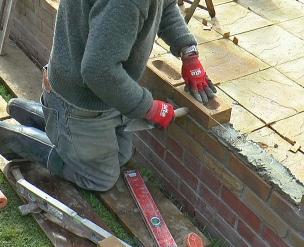
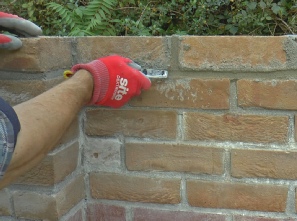
First, a generous dollop of water to reduce the “suction” of the previous course of bricks.
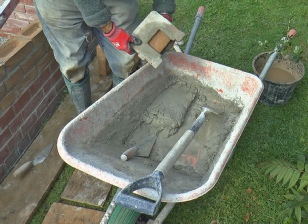
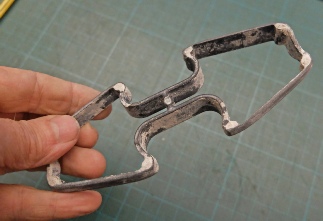
Here, I am using my jig to help me judge the amount of mortar to lay.
It needed to be quite thick on the last two courses to get the height right for the doorway.
This was due to a miscalculation in the thickness of the previous courses!
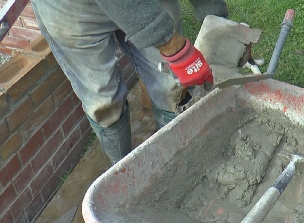
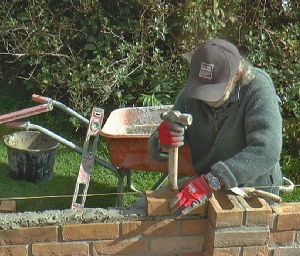
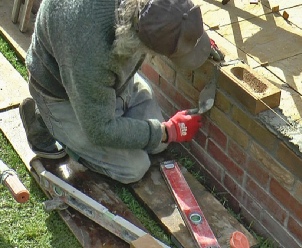
I am using the “Bricky” jig help me get a consistent thickness of mortar on the end of the brick.
You can’t see it here but you use your thumb to hold the Bricky in place…
…while you apply the mortar…
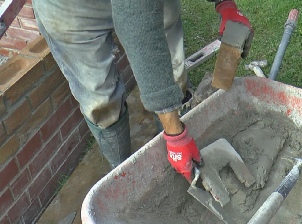
…and trim off the surplus.
When you remove the Bricky, a nicely formed layer of mortar is left on the brick.
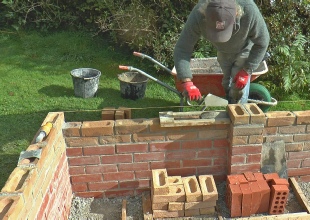
Place it on the mortar bed…
…tap it down so that it approaches the right level as judged by the string line (which should be taut).
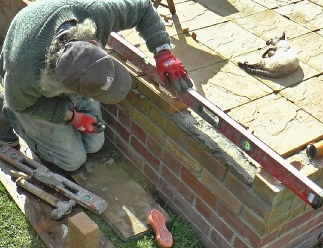
Check the level in this direction and tap to get it right.
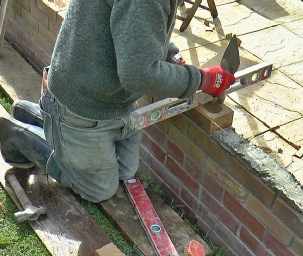
Use a long level to check the height of the brick and tap until it is correct. Recheck the cross level.
Tap sideways to get the brick in line with the string.
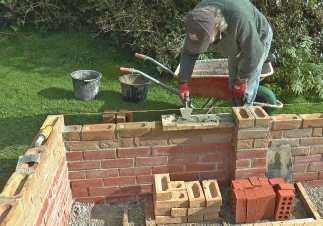
Tidy up ready for pointing up later. Mostly it’s about removing mortar which has been squeezed out.
Bricklaying in pics
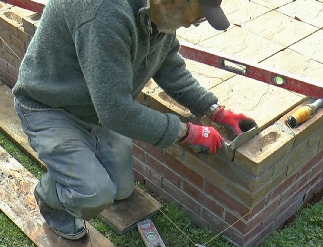
Slip some mortar in the gap between the last bricks.
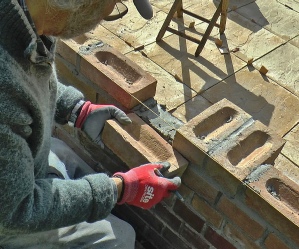
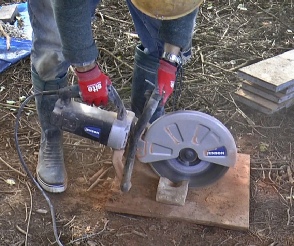
Where bricks need cutting, put pencil mark where the cut is required…
…and let the disc cutter take the strain!
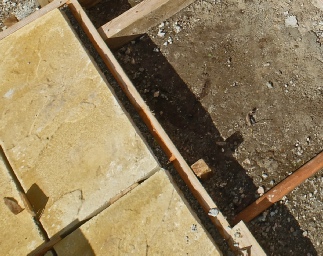
To edge the borders, I removed the boards containing the hard core and sand under the slabs…
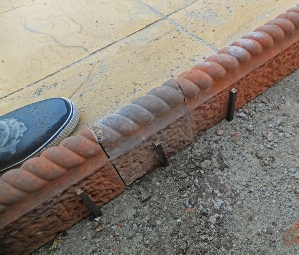
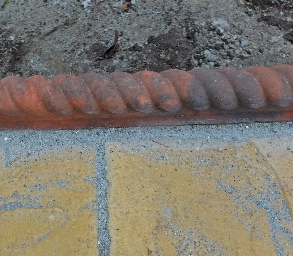
…and replaced them with cast rope twist edging held in with 300 mm lengths of 10 X 10 mm steel. These will be hidden by the soil.
I then grouted up the 20 mm gap between the slabs and the edging with mortar.
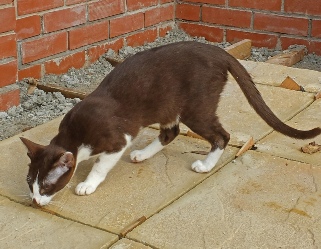
The cat was anxious that the spacers between the slabs be removed as she didn’t like lying on them, so that was next. I brushed sharp sand into the gaps with a soft broom.
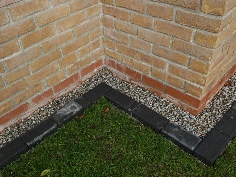
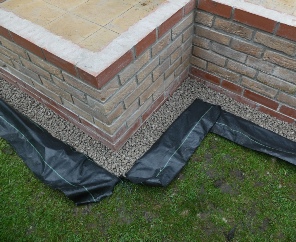
I laid ground cover fabric in the gap between the brickwork and the surrounding grass and filled it with gravel. Later, I will put in paviors to act as a mowing strip.
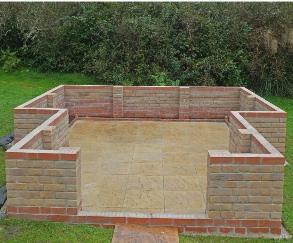
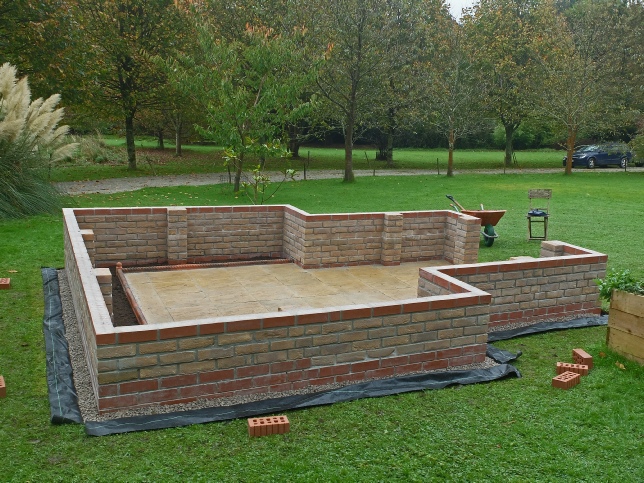
The brickwork and paving is done!
Now I am just waiting for Swallow to deliver the woodwork and glass.
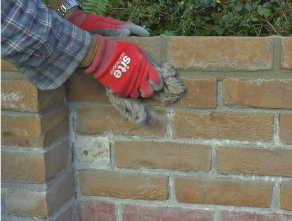
This plastic grouting tool which comes with the Bricky kit is actually quite useful as the four angled sides are different widths to suit different sized mortar joints.
The profile is just right to recess the mortar as long as it’s less than about five hours old. Much older and you will need a small cold chisel or similar.
Clean off the dry-
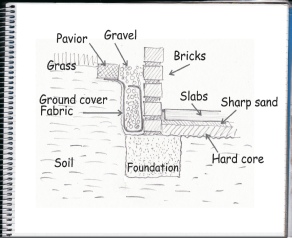
This is how the ground cover fabric and gravel works with the wall and the future mowing strip.
Completion of the first stage!
In the meantime I am going to lay some paving in front of the greenhouse as described on the next page…
PS. Here are the paviors in place to finish off the gravel round the base of the brickwork.