


 Home
Home

Garage construction 1


To start with, you need, amongst other things, a chalk line and a long tape measure, at least 15M. The first thing to do is to mark out a rectangle on the slab that will enable the uprights to be accurately positioned. The instructions which came with the kit should say what the size should be. The slab should be at least 6” bigger than the exterior dimensions of the garage. If the slab is not square (ie the corners are not 90 degrees) you will want the front of the garage to be parallel with the front of the slab at least, I should think. I knock some masonry nails in about half an inch deep to mark the front edge and snap a chalk line stretched between them to mark a line.
I make up a large right angled triangle with straight bits of 50x25mm softwood in the proportion 3,4,5, so 6,8,10 feet should do it. I use this to define the sides and then finish with the back. The check then is to measure the diagonals. If they are not equal, you have to check to see where the error is.
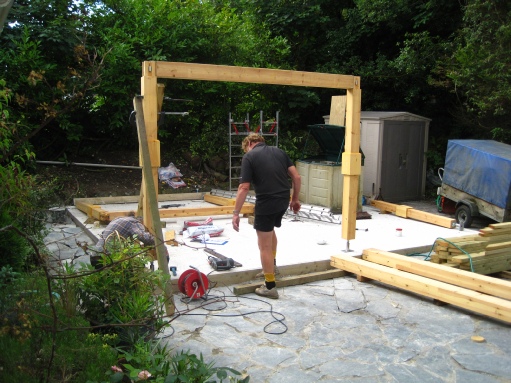
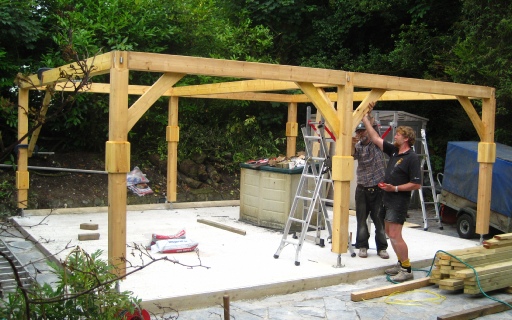
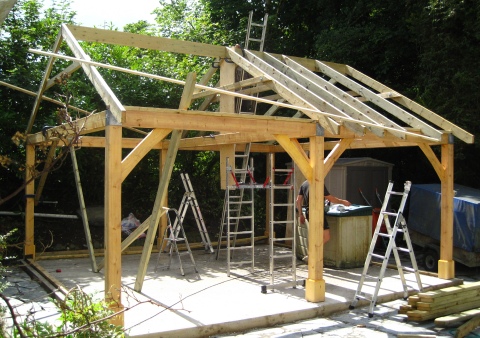
Assemble two uprights and a short lintel flat on the ground, get them upright in the right position on the base and brace them in position with a couple of pieces of wood and a pair of large G-
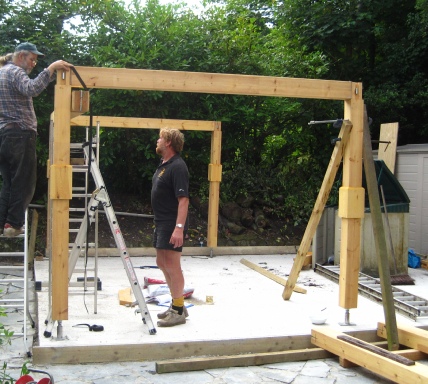
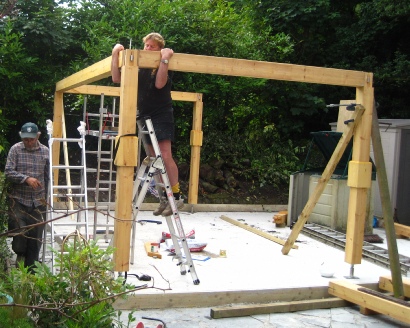
Carry on adding uprights and lintels until they’re all in place. Then get the bases into the correct position. Check the uprights are upright with a large spirit level. Adjust the feet to make sure the lintels are all horizontal. Check the diagonal measurements on the top and bottom. Check and re-
The covers for the adjustable feet (previously held out of the way by resting them on a nail) can now be let down into place. They should be secured about 6mm above the concrete so they don’t soak up moisture. Finally, the diagonal braces can be slotted in and secured.
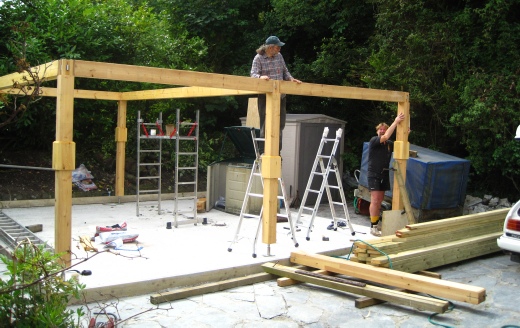
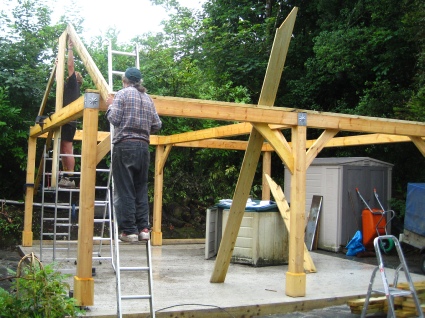
Now comes the roof (see below).The rafters come pre-
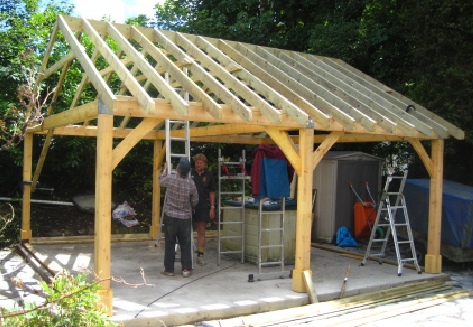
To get things going, we used two pieces of 18 mm ply with slots cut in one end, G-
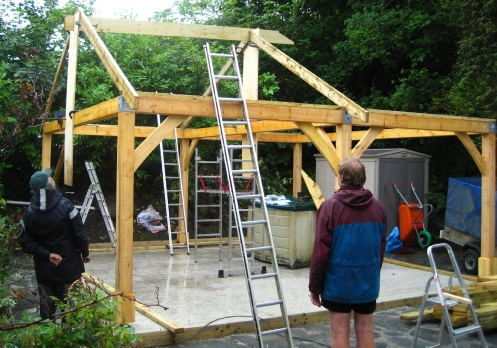
Now one piece of ply was removed and fitted at the other end of the building to support the other half of the ridge board. Before continuing, a plumb line was again dropped from the end of the gable and a couple of temporary braces used to move the gable end so that it was flat with the side of the building and not leaning out or in.
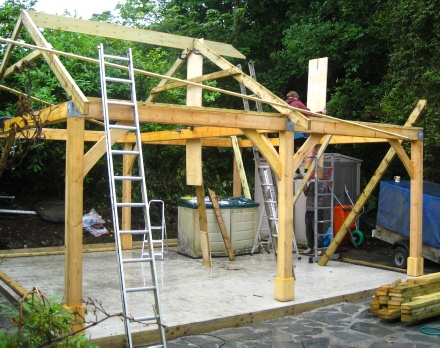
Now the other half of the ridge board was fitted into position and short pieces of 18mm ply were screwed on each side of the scarf joint to secure the two halves together.
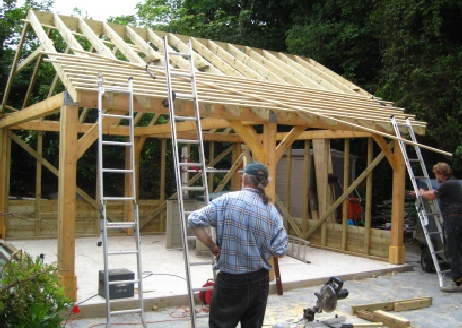
Once the rafters are in place, on go the battens.
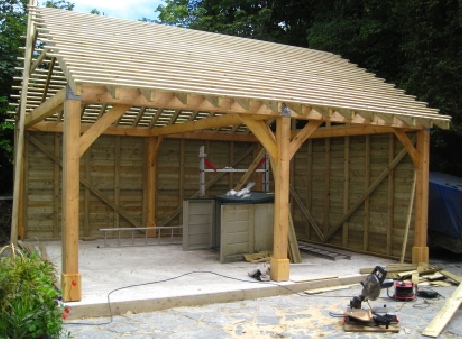
I think I would have liked to get the shingles on next to provide a bit of weather protection as soon as possible but they had not arrived yet so cladding the sides was the next job.