 Home
Home


Arch construction 1

The sketch on the left shows the initial design. The actual arch developed into something slightly different with regard to the springing of the arch from the uprights which in the as-
I have made other arches by bending strips of wood between the uprights and then screwing them together. This would not work with the curvature required here. It could be done with a number on thin strips laminated together. However, they would have to be bent in some sort of former and glued together with some sort of clamping arrangement.
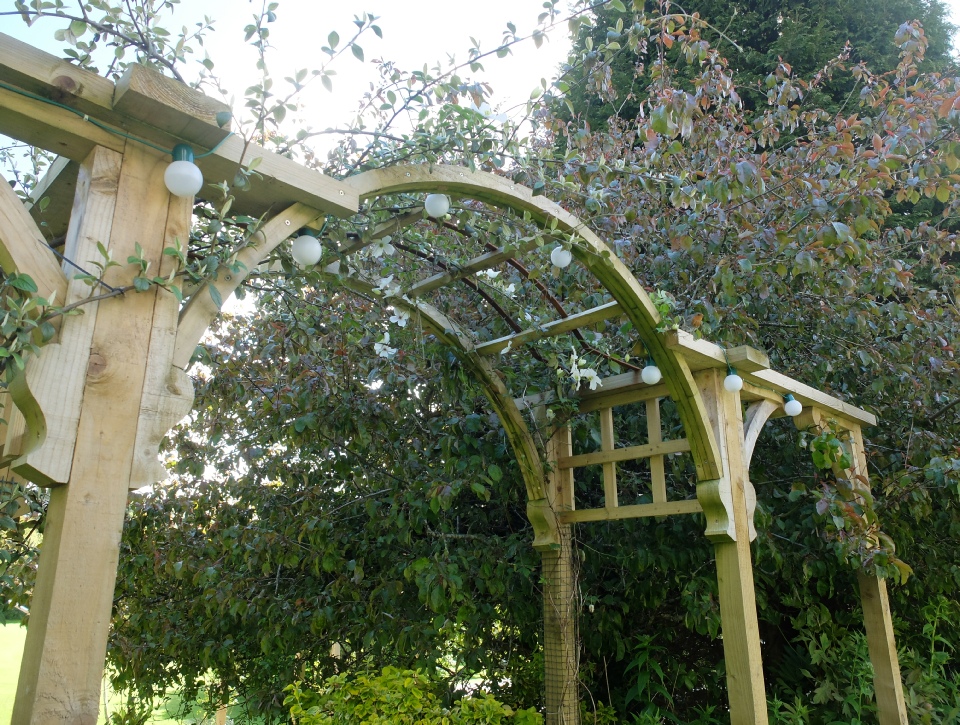
I have used a different approach here, similar to building with (curved) bricks. Relatively short sections of the curve are cut out and screwed together in three layers with the joins staggered. In retrospect, I could have staggered the joins better so the joins were a third of the way along each “brick” instead of halfway. Nevertheless, it was perfectly strong enough.
If I were to do it again, I would probably glue the parts together with gap-
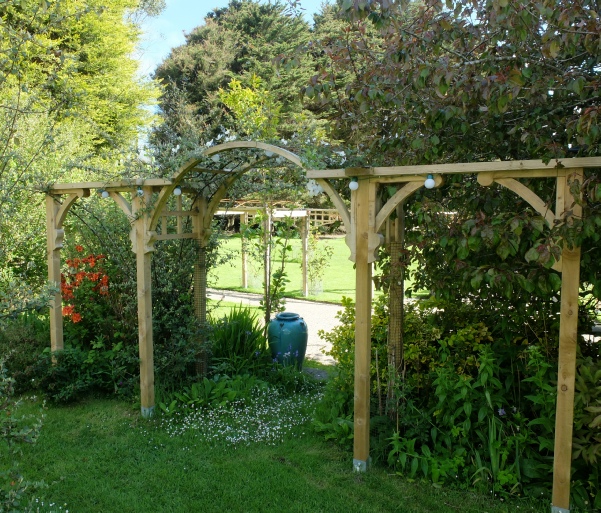
I’ve proportioned the spacing of the uprights according to the golden ratio which is about 1.6 : 1. So starting with the main opening as a given (70”) the other two work out to be 43” and 27” approximately. Opinion is divided as to whether this proportion has any deep significance but I think it looks nice so what the heck!